
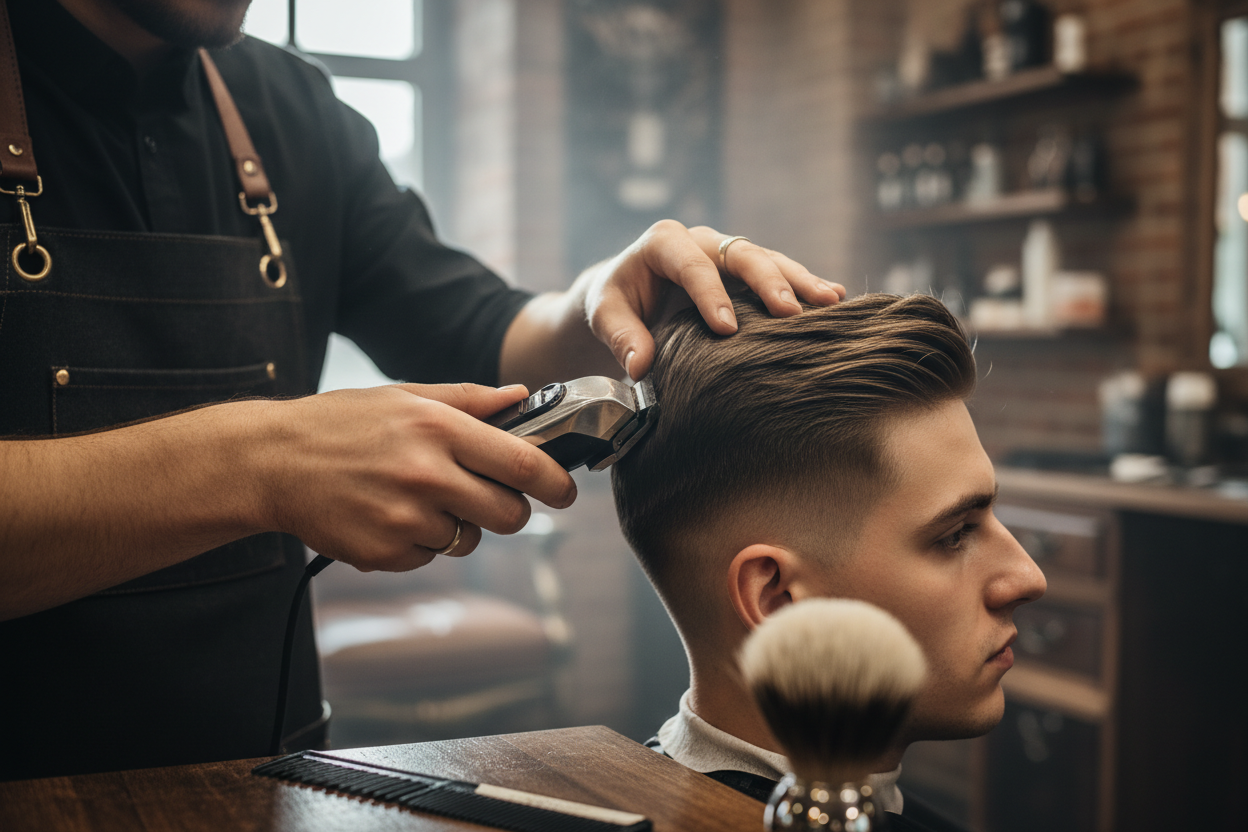
Creating a flawless skin fade is one of the defining skills of a great barber. While most professionals understand the fundamentals of fading, even experienced barbers occasionally find themselves battling stubborn clipper lines that won't disappear.
It's frustrating. You go over the same area repeatedly, switch guards, adjust your lever, and somehow the line still catches the light.
The reality is that clean fades aren't created by making more passes. They're created through consistency, technique and using equipment that performs predictably every time.
Whether you're refining your barbering skills or looking to speed up your workflow while improving your results, these professional barber fade techniques will help you remove clipper lines and achieve cleaner fades with greater confidence.
Why Fade Lines Happen in the First Place
Before learning how to remove clipper lines, it's important to understand why they appear.
A fade is essentially a gradual transition between different hair lengths. Every guideline you create represents a visible change in length, and your job is to blend those transitions until they become virtually invisible.
Fade lines commonly appear because of:
- Inconsistent guideline placement
- Incorrect guard selection
- Poor lever control
- Uneven pressure
- Hair growing in different directions
- Dull clipper blades
- Rushing the blending process
Rather than seeing a fade line as a mistake, think of it as information. It tells you exactly where two lengths haven't been blended together effectively.
Professional barbers don't panic when they see a line; they identify why it's there and systematically remove it.

Start with the Right Fade Structure
One of the biggest mistakes barbers make is trying to fix a fade that wasn't properly planned from the beginning.
Clean fades start before the clippers even begin blending.
Take the time to establish:
- A consistent baseline
- Even guideline placement
- Clear working sections
- A logical cutting sequence
Many experienced barbers work from the bottom upwards, gradually increasing guard length while removing each guideline before moving on. If the initial structure is inconsistent, blending becomes significantly more difficult later in the haircut.
Slowing down during the first few minutes often saves far more time during the finishing stages.
Guard Selection Can Make or Break Your Fade
Choosing the correct guard is one of the simplest ways to improve fade quality.
Many clipper lines occur because the wrong guard is being used; or because the barber skips too many guard lengths. Professional blending often relies on:
- Closed guards
- Half guards
- Open guards
- Micro adjustments using the lever
Rather than aggressively attacking a visible line with a larger guard, experienced barbers make small, controlled changes that gradually soften the transition.
Understanding how each guard interacts with your clipper is just as important as understanding haircutting itself. The more familiar you become with your barber equipment, the more predictable your fades become.
Master Lever Work Instead of Chasing the Line
If there is one skill that separates good barbers from exceptional ones, it's lever control. Many barbers see a visible line and instinctively keep cutting the exact same area. Professional barbers do the opposite.
Instead of applying more pressure, they make tiny lever adjustments while feathering into the line.
The lever allows you to create countless subtle cutting lengths between each guard, making it one of the most powerful blending tools available.
Developing confidence with lever work means you'll spend less time correcting mistakes and more time producing seamless fades.
Pressure Matters More Than You Think
Many stubborn clipper lines aren't caused by poor technique but by inconsistent pressure. Pushing the clipper too firmly into the head removes more hair than intended.
Not applying enough pressure can leave inconsistent blending. Instead, aim for:
- Light, controlled contact
- Smooth, consistent movement
- Confidence without force
Your clipper should glide across the hair rather than digging into it. Combined with proper lever work, lighter pressure allows you to gradually remove weight without creating new lines.
Improve Your Wrist Movement
The famous "flick-out" motion isn't just something beginners are taught. Experienced barbers continue refining this movement throughout their careers.
The flick-out technique allows the clipper to lift away from the head naturally, softening transitions rather than creating harsh lines. Good wrist movement should feel:
- Relaxed
- Smooth
- Controlled
- Consistent
Rather than relying entirely on your arm, allow your wrist to guide the clipper through each stroke. Practising this movement repeatedly will improve both speed and consistency over time.
Stretch the Scalp for Better Consistency
Hair doesn't grow evenly across every part of the head.
Cowlicks, dense growth patterns and uneven scalp contours can all affect how your clipper cuts.
Professional barbers often improve consistency by gently stretching the scalp while cutting.
This helps:
- Lift difficult hair
- Create a flatter cutting surface
- Improve blade contact
- Produce more even blending
Stretching is particularly useful around:
- The neckline
- Behind the ears
- Crown area
- Dense growth patterns
It's a small technique that can make a significant difference to the finished result.
Cross-Check from Every Angle
One of the biggest differences between average and exceptional fades is how thoroughly they're checked. Looking at the haircut from only one angle often hides imperfections.
Instead, walk around the chair and inspect the fade from:
- The front
- Both sides
- Behind
- Above
- Mirror reflections
Ask the client to slightly tilt their head up or down to reveal areas hidden by natural shadows. Many fade lines only become visible when viewed from a different perspective. Professional barbers rarely finish a fade without performing a final cross-check.
Lighting Can Create (or Hide) Fade Lines
Have you ever completed what looked like a perfect fade, only to notice lines when your client walked outside?
Lighting is often the culprit. Poor lighting creates shadows that can disguise imperfections.
Professional barbers benefit from bright, even lighting that allows every transition to be inspected accurately.
Ideal lighting includes:
- Bright overhead LEDs
- Neutral colour temperature
- Minimal shadowing
- Multiple viewing angles
Improving your lighting setup can instantly improve the quality of your fades; not because your technique changes, but because you can actually see what you're doing.

When Your Clipper Is the Problem
Technique is incredibly important, but even the best barber can be limited by poor equipment.
If your clipper:
- Pulls hair
- Loses power
- Generates excessive heat
- Vibrates excessively
- Requires multiple passes
- Produces inconsistent cutting
…it may be affecting your fades more than you realise.
Modern professional clippers are designed to provide:
- Consistent motor performance
- Smooth cutting action
- Precision blade alignment
- Better balance
- Improved ergonomics
The latest TUFT Viper Clipper, for example, combines a high-speed brushless motor with a DLC-coated blade to deliver smooth, consistent cutting throughout the day. Rather than fighting against inconsistent power or blade performance, barbers can focus on refining their technique and producing cleaner fades.
Quality tools won't replace good barbering skills, but they can remove many of the variables that make blending more difficult.
Build a Consistent Fade Workflow
One of the defining habits of experienced barbers is consistency.
Rather than approaching every haircut differently, they follow a structured process every time.
A typical workflow might include:
- Client consultation
- Section the haircut
- Establish guidelines
- Remove bulk weight
- Blend each guideline progressively
- Cross-check from multiple angles
- Refine with the trimmer
- Final detail work
- Client review
Following the same workflow reduces mistakes and helps produce repeatable results, regardless of hair type. The more consistent your process becomes, the more consistent your fades become.
Cleaner Fades Start with Better Habits
Many barbers search for one trick that will instantly improve their fades.
The truth is there isn't one. Clean fades are usually the result of dozens of small habits working together.
Focus on:
- Better guideline placement
- Controlled lever work
- Smooth wrist movement
- Correct guard selection
- Consistent pressure
- Proper lighting
- Thorough cross-checking
- Well-maintained equipment
Each improvement may seem small on its own, but together they create cleaner, faster and more consistent results. Over time, these habits become second nature, allowing you to spend less time chasing clipper lines and more time producing fades your clients will notice.
Take Your Barbering to the Next Level with TUFT Professional Tools
Professional barbering is about combining skill with equipment you can rely on.
At Hair & Beauty Kingdom, we stock a wide range of TUFT Professional barber tools trusted by Australian barbers and stylists, including the latest professional cordless clippers, trimmers and complete student barber kits.
Whether you're refining your fading technique, upgrading your current setup or preparing for a busy day behind the chair, the right tools can help you work more efficiently and confidently. Speak to our team today to learn more about finding the right tools for your trade.
Frequently Asked Questions
Why won't my fade blend properly?
Most fade lines are caused by inconsistent guideline placement, incorrect guard selection, poor lever control or rushing the blending process. Slowing down and working systematically usually produces cleaner results.
What's the easiest way to remove clipper lines?
Rather than making repeated heavy passes, use small lever adjustments, light pressure and controlled flick-out movements to gradually soften the transition.
Does clipper quality affect fade results?
Yes. Sharp blades, consistent motor performance and good ergonomics can make blending more predictable and reduce the number of passes needed.
Should I use a clipper or trimmer to remove fade lines?
Most blending should be completed with your clipper. Trimmers are generally reserved for detailing, outlining and refining the finished haircut.
Why do fade lines look worse in different lighting?
Poor lighting can hide imperfections during the haircut. Always cross-check your work under bright, even lighting and from multiple angles before finishing.
How often should I replace clipper blades?
Blade lifespan depends on usage and maintenance. Regular cleaning, lubrication, and replacement of worn blades when needed help maintain smooth, consistent cutting performance.